
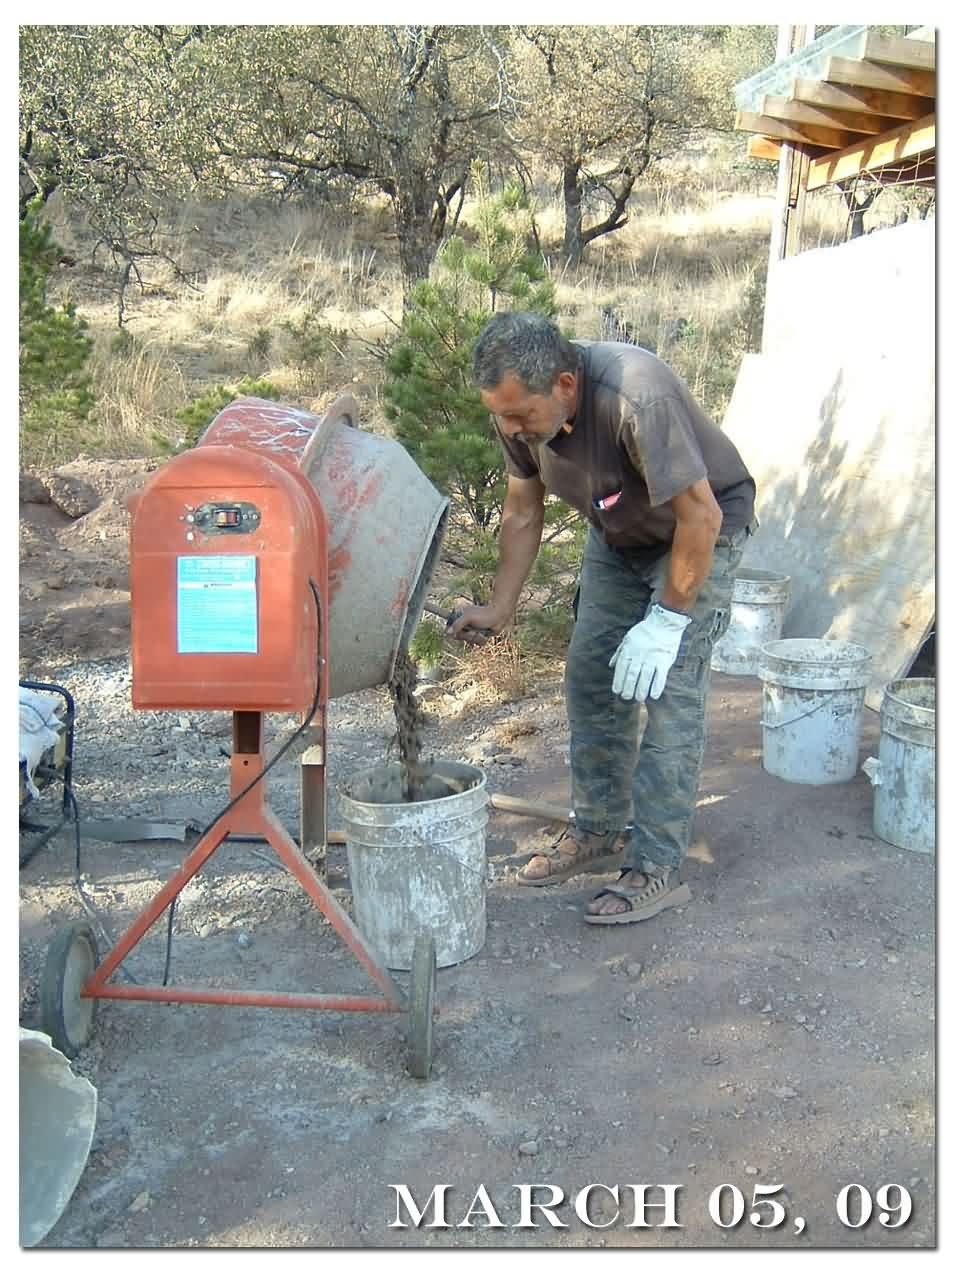
It’s been a while since I’ve written an update on what we are doing on the cabin, so this time I’ll write about concrete, or more accurately soilcrete. What is soilcrete? It’s nearly the same thing as concrete but using local materials instead of using purchased materials. We use local dirt, gravel from the creek, portland cement and of course water. This makes a strong and inexpensive concrete/soilcrete to make walls and such.
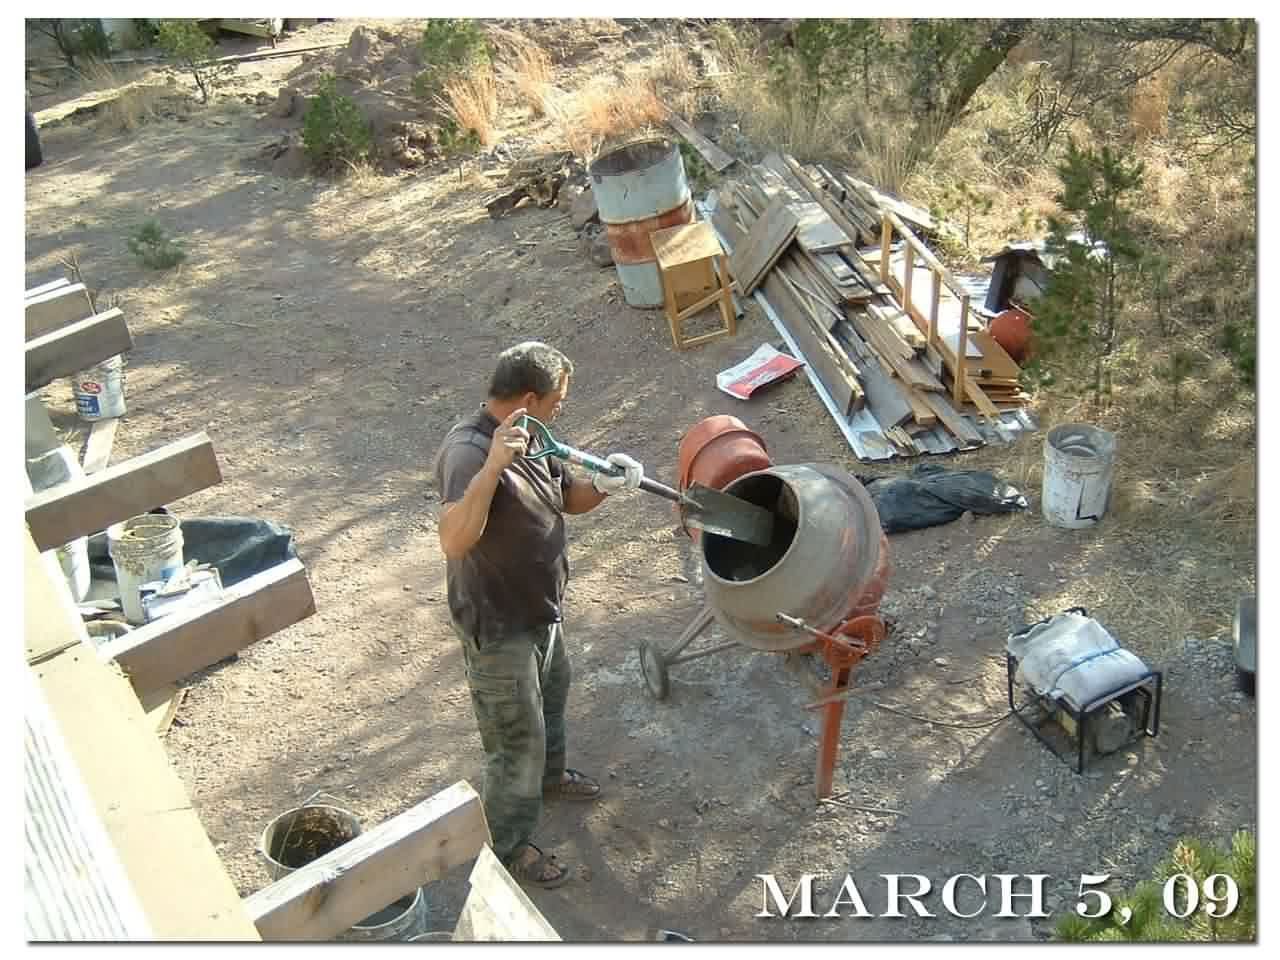 |
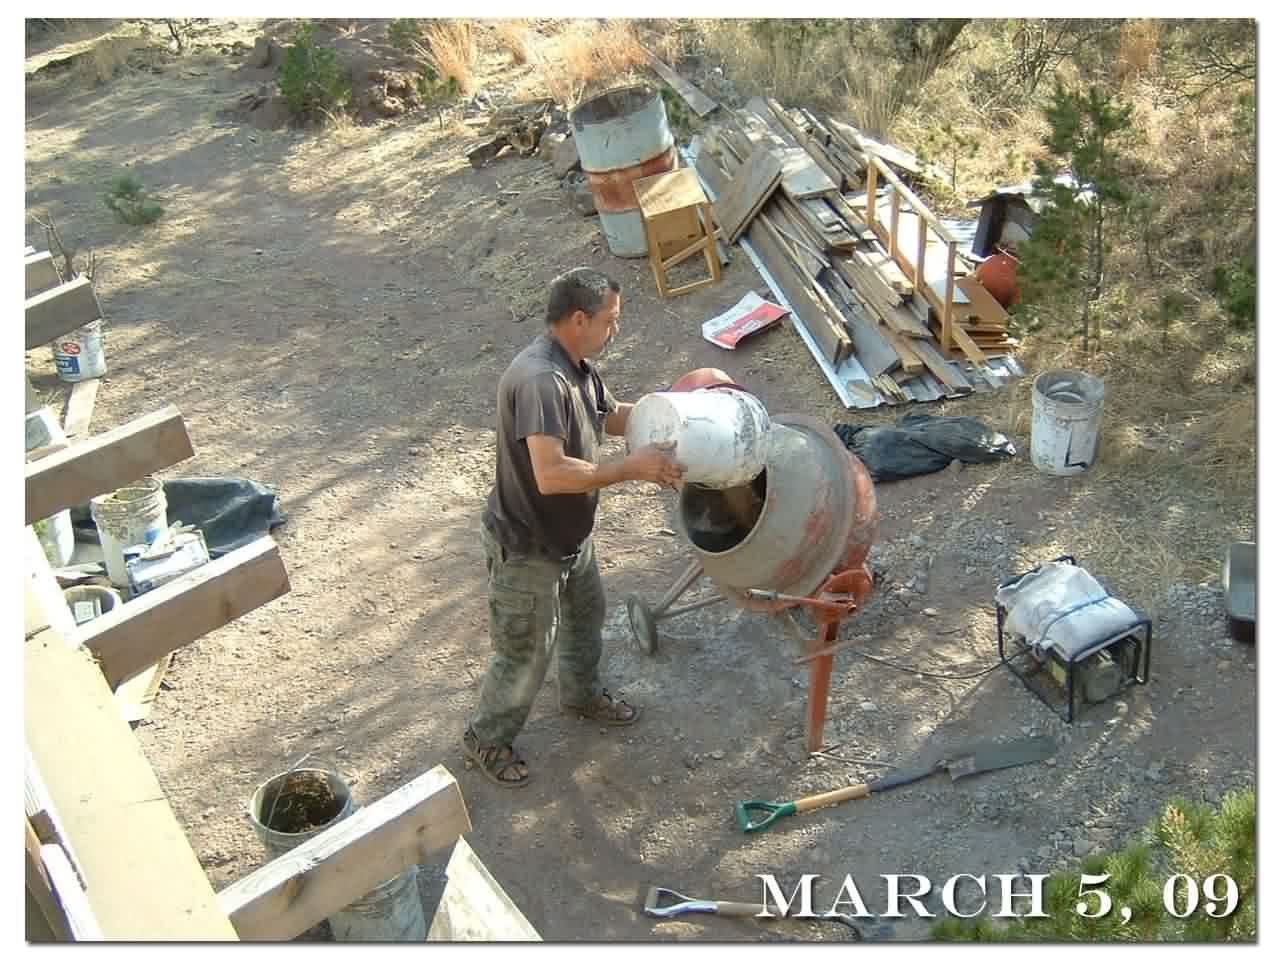
All of these buckets have sure come in handy, thanks Best Buy! |
|
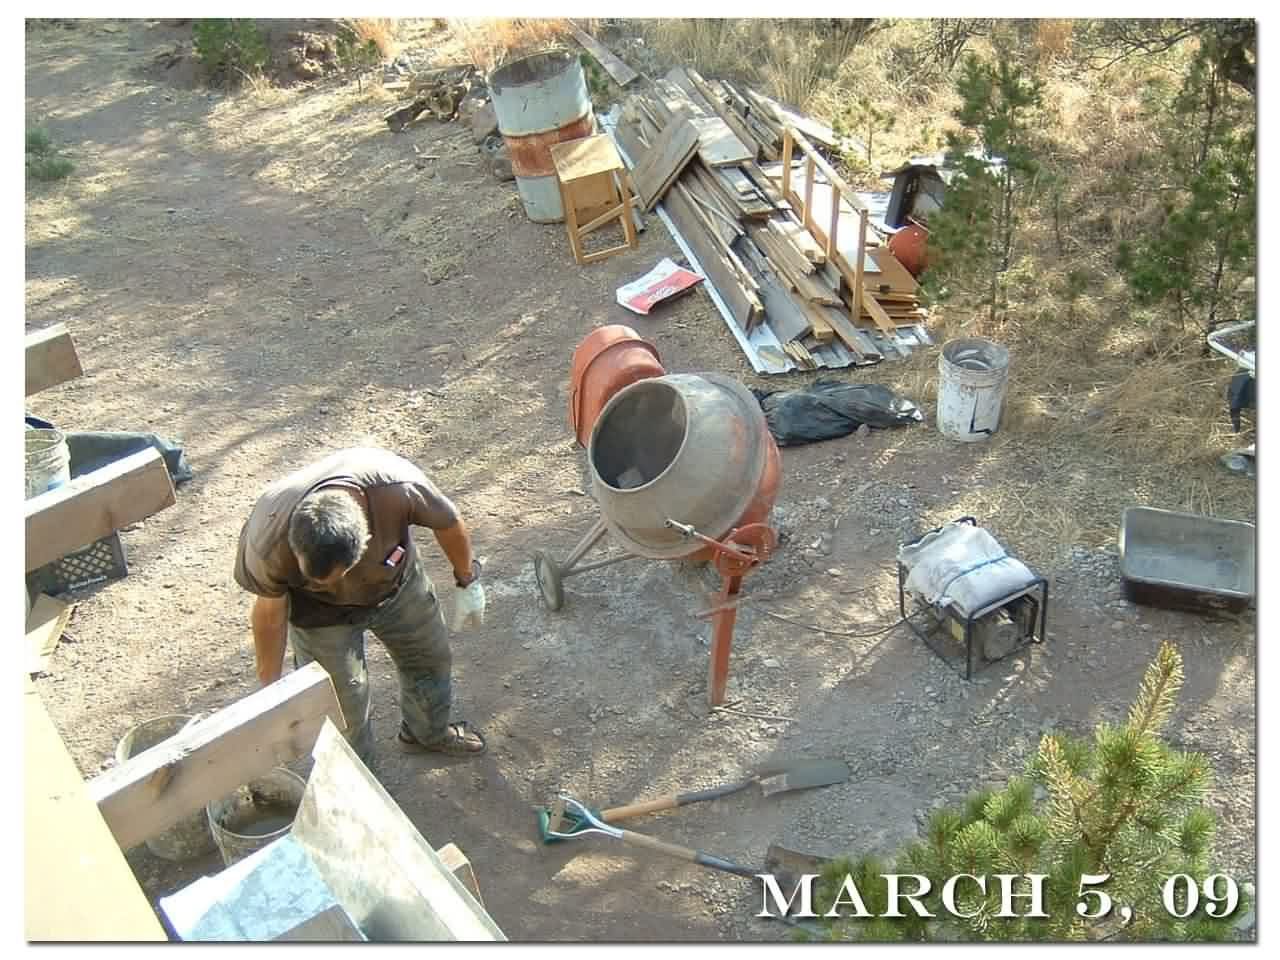
Bob mixing soilcrete
|
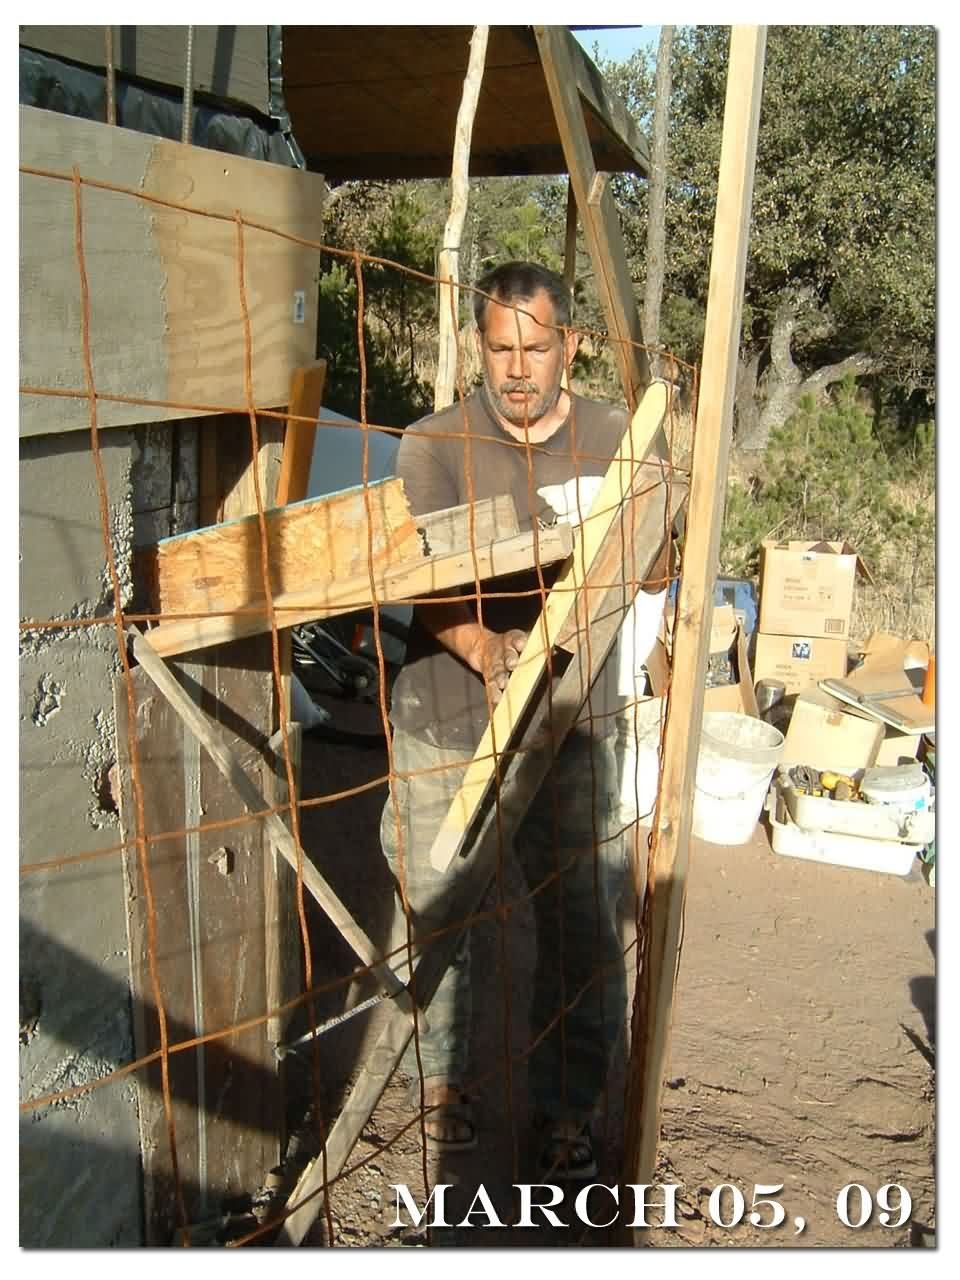 |
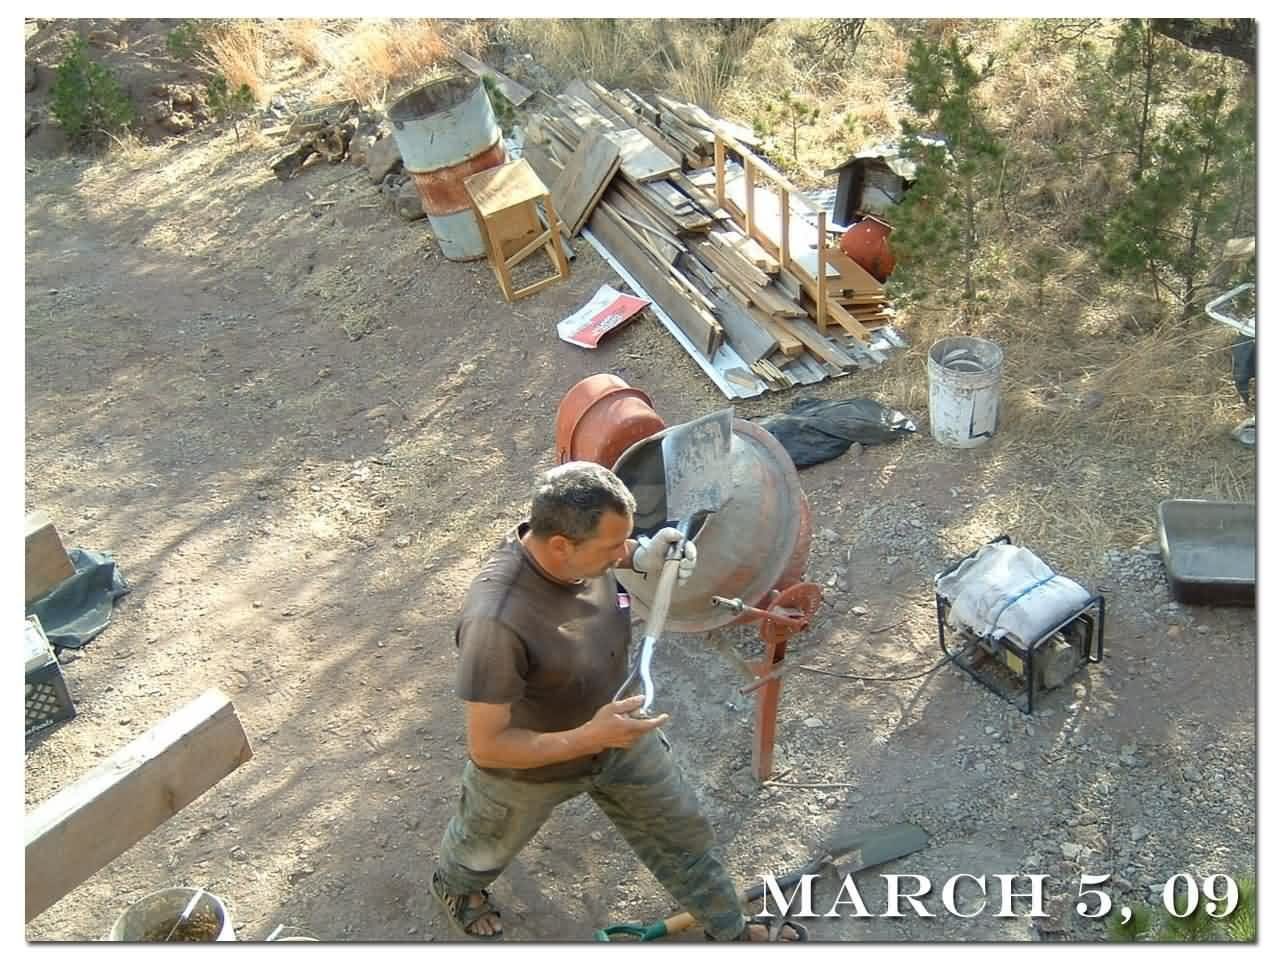
We have to use the materials we can get or already have on hand. Bob is pouring a wall and is using scrap wood to help funnel the mixture into the cavity. |
|
Bob pouring soilcrete
|
 |
Pouring the mixture into the wall cavity. |
|
Bob pouring soilcrete
|
|
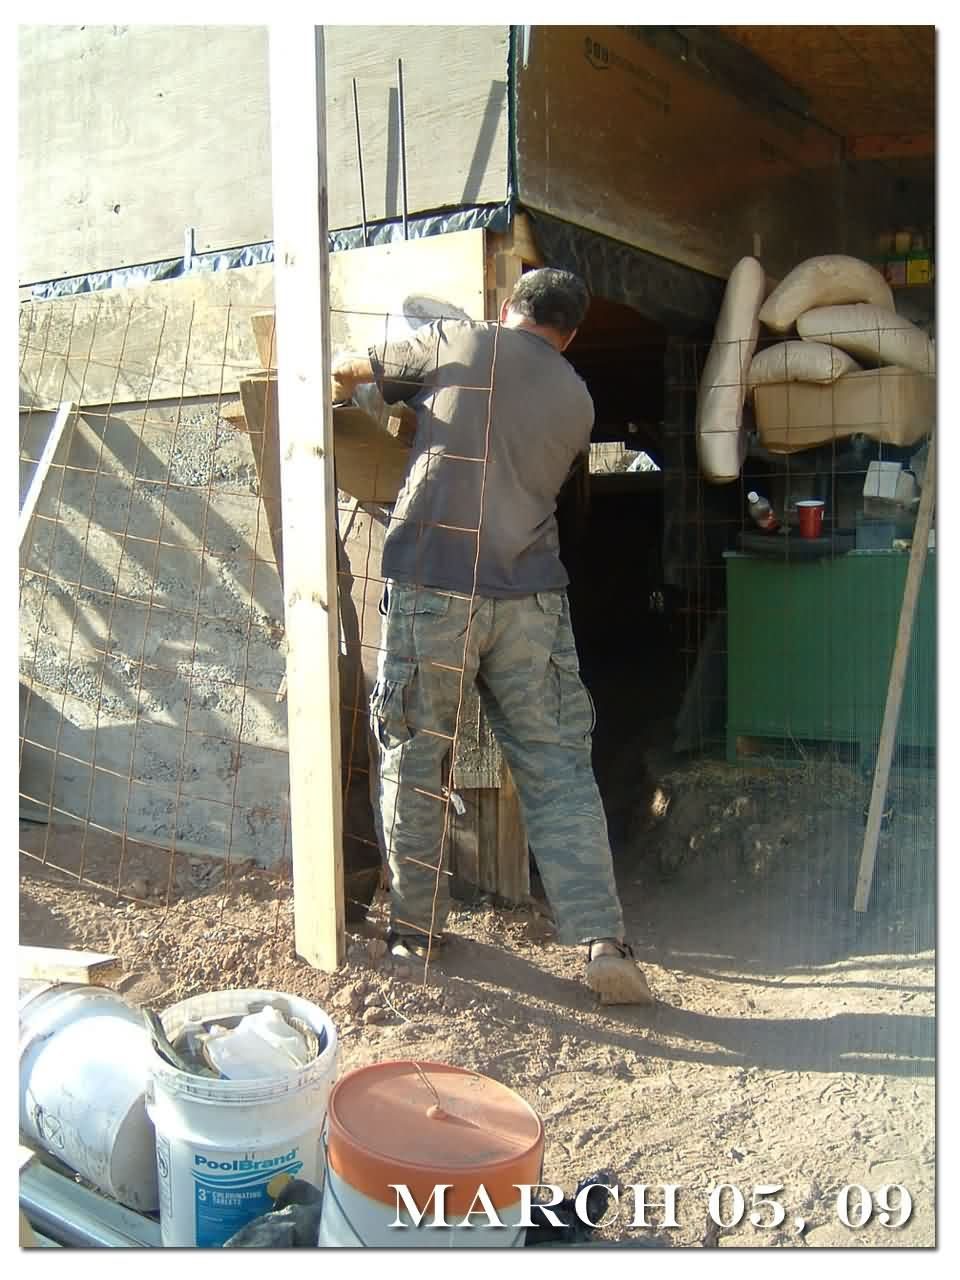
Bob pouring soilcrete into the wall cavity. |
 |
|
Bob mixing soilcrete
|
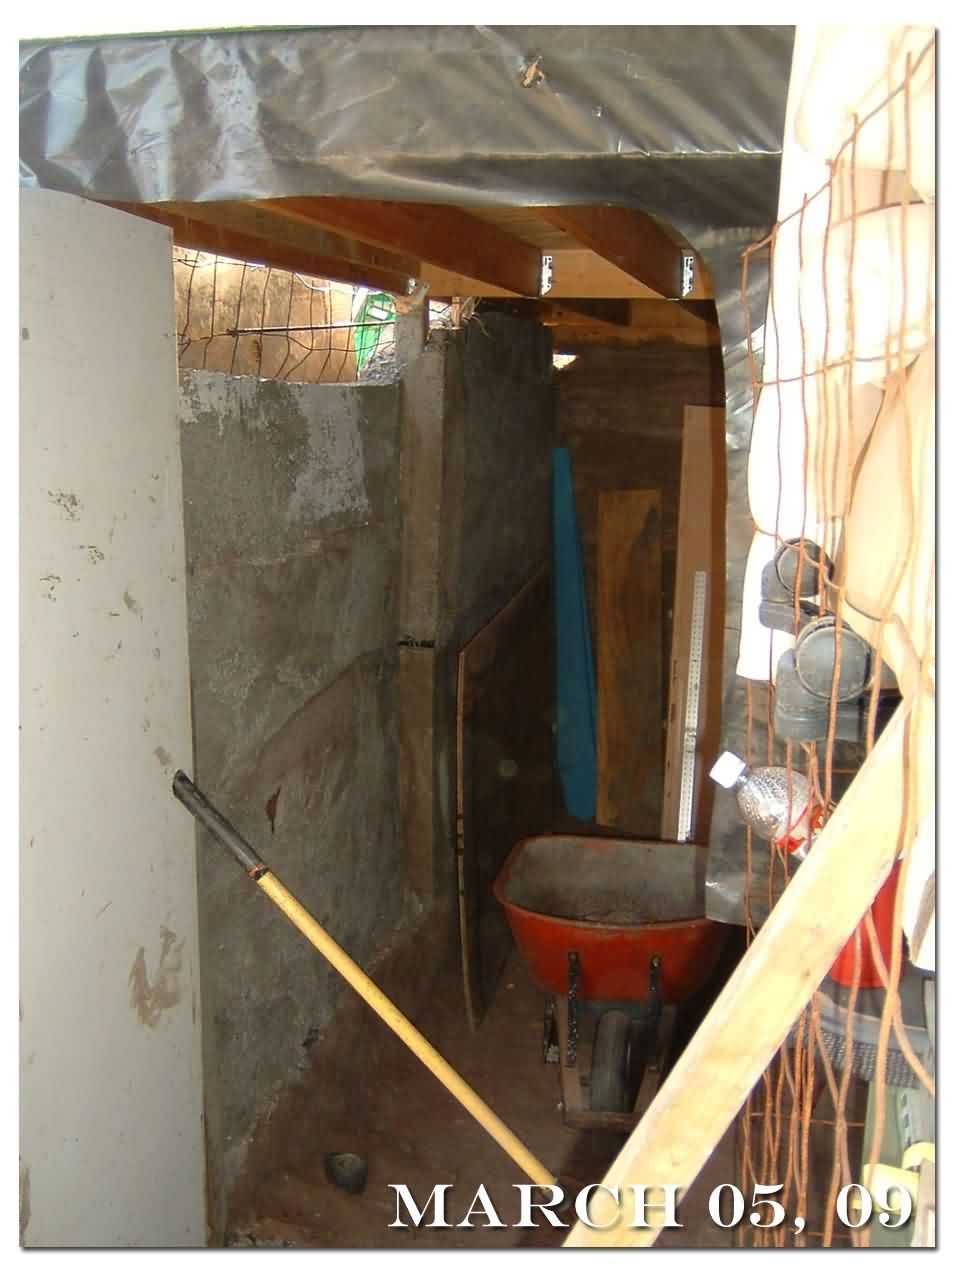 |
This is the inside view of where Bob is pouring the soilcrete. |
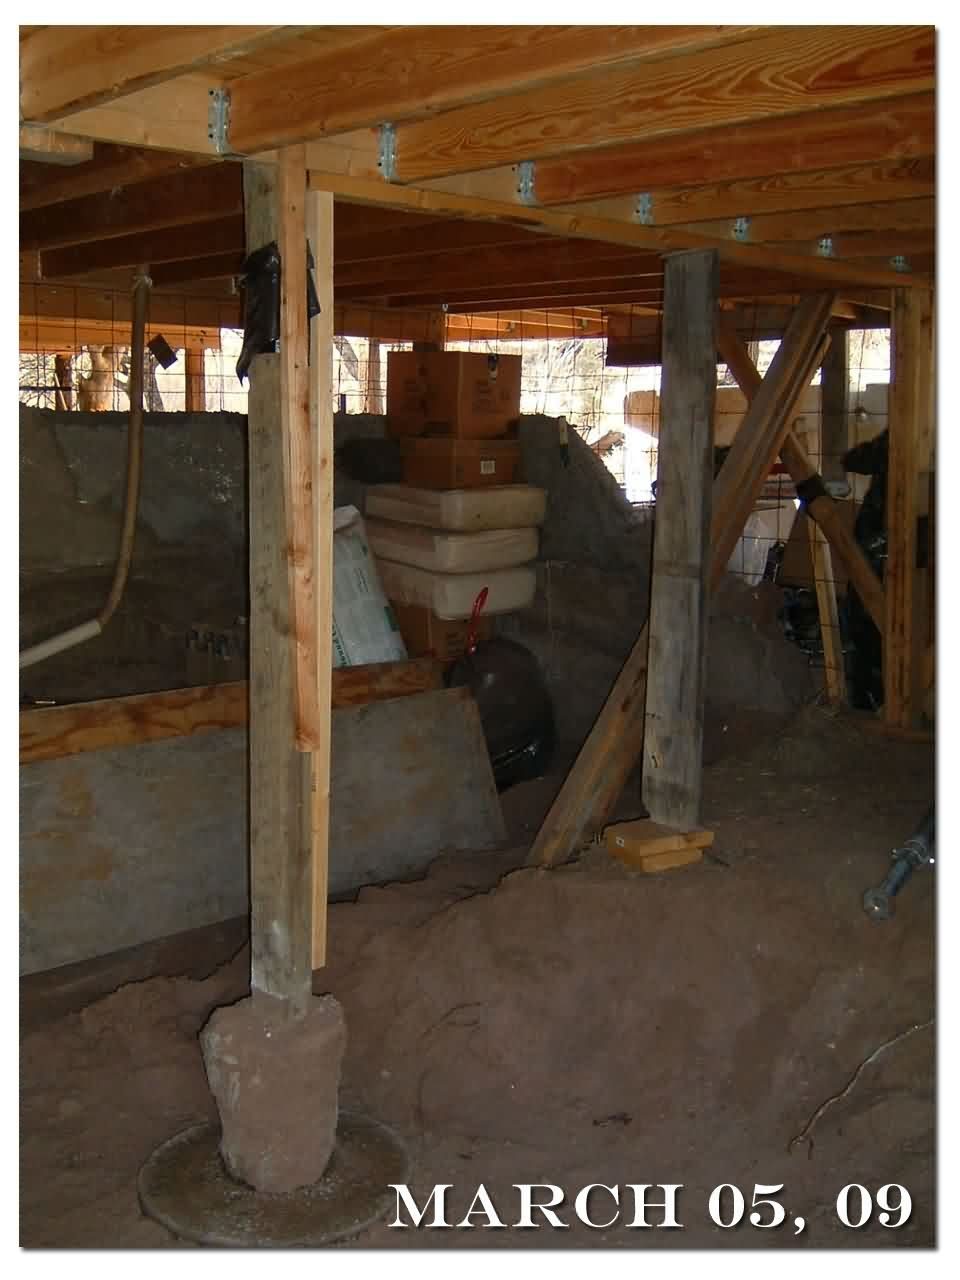
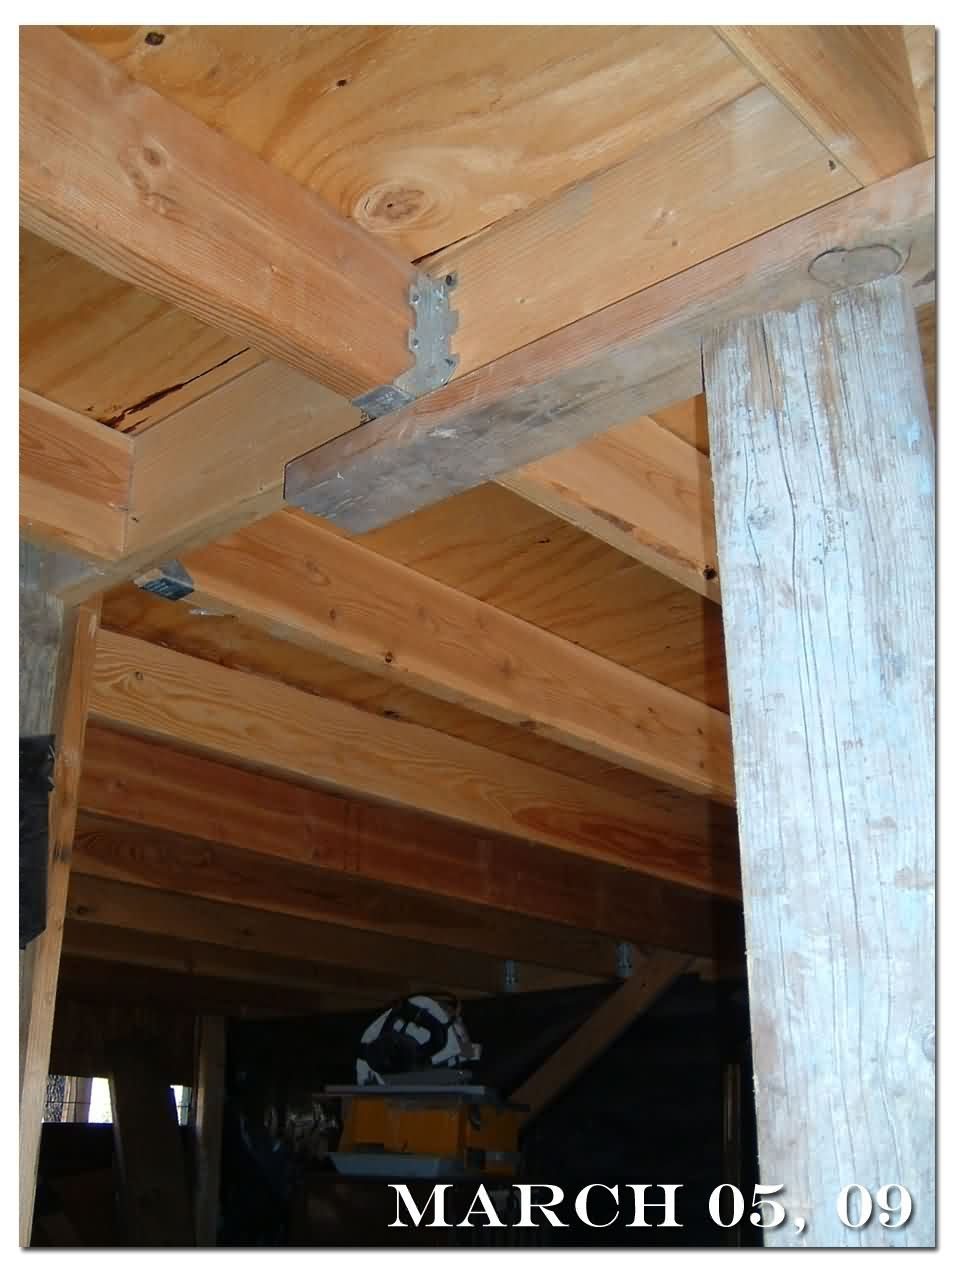
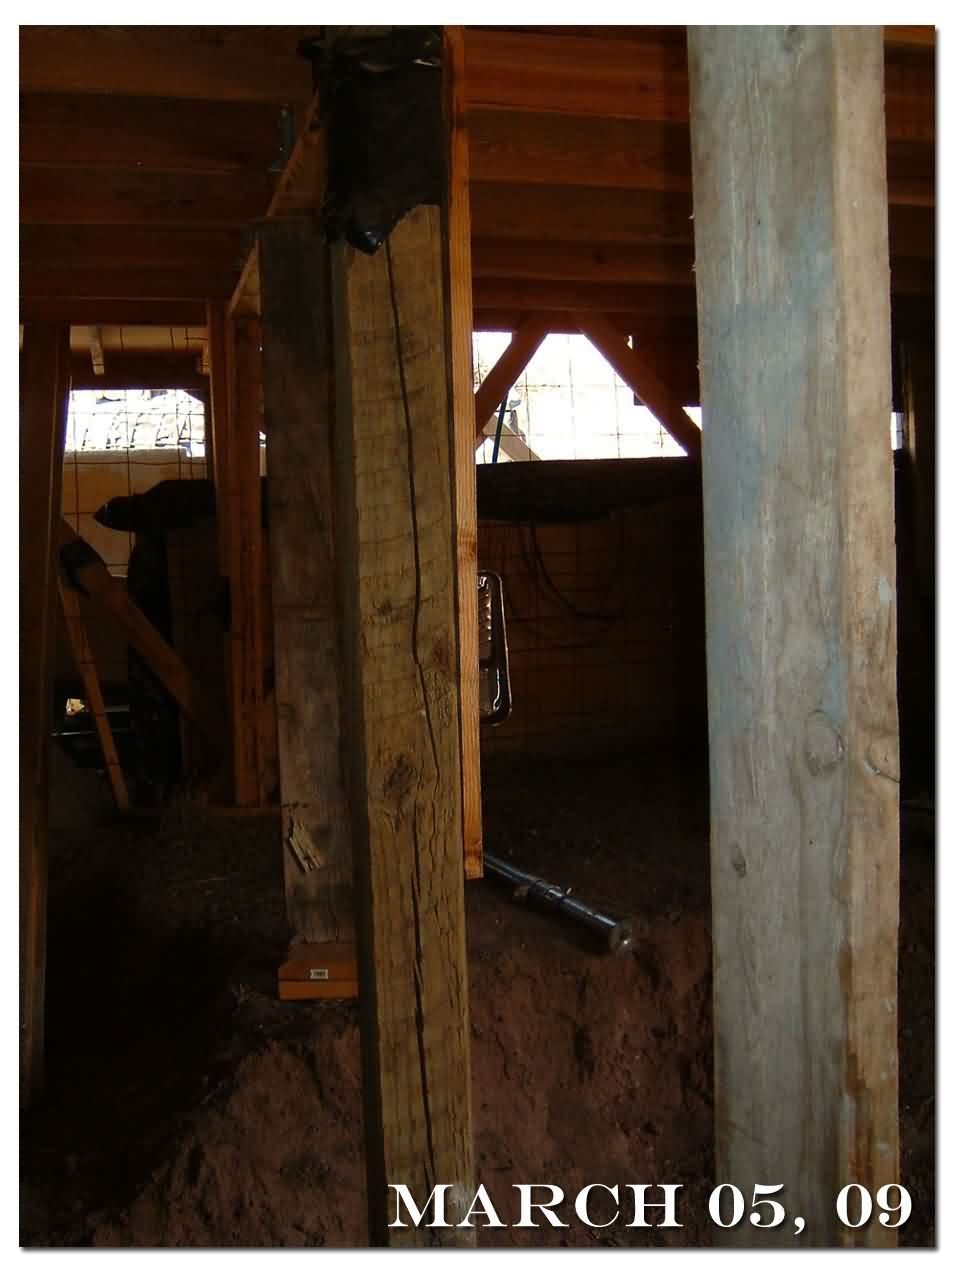
| Under the cabin |
|
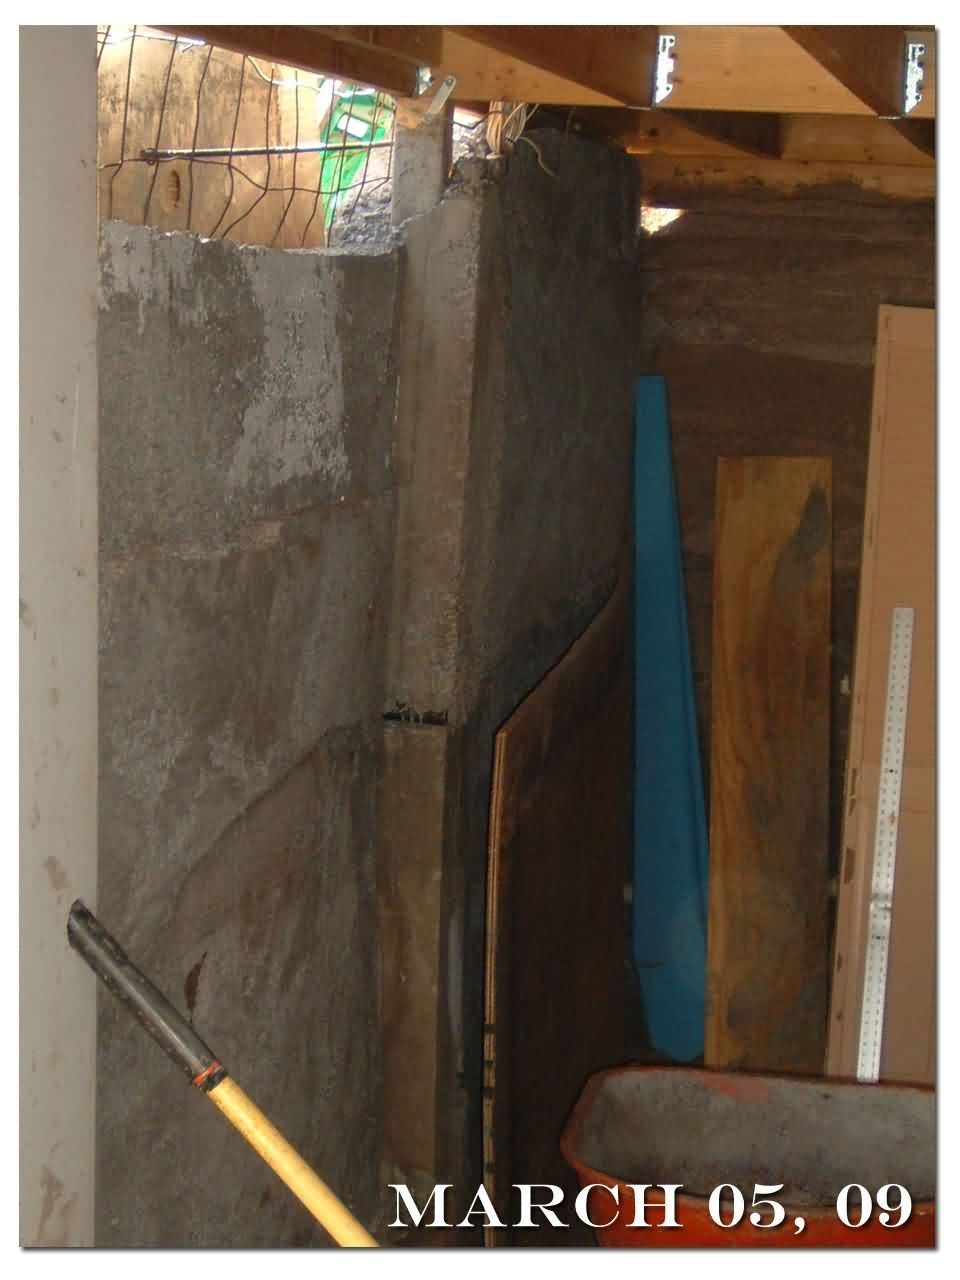
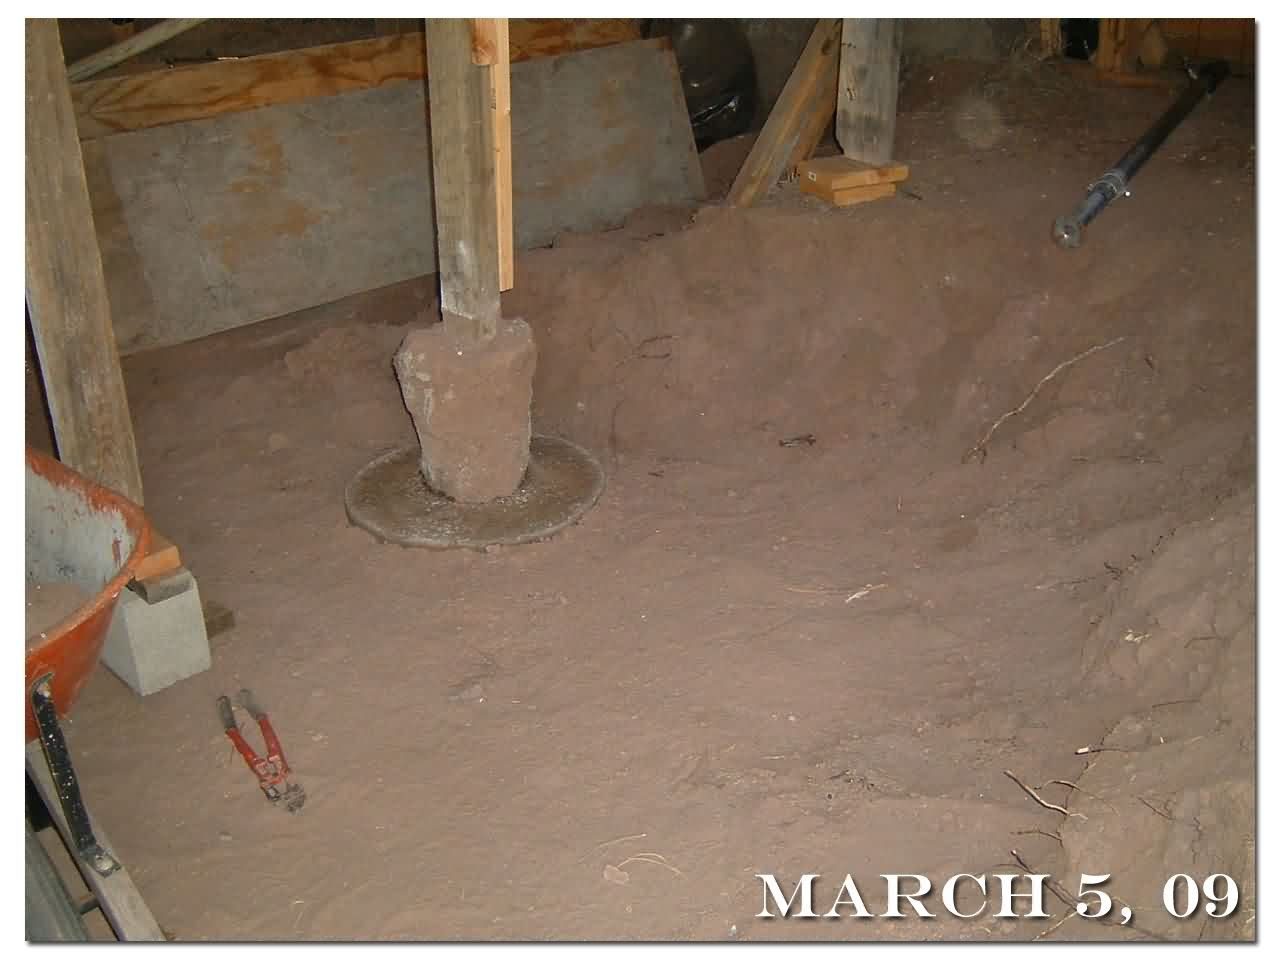
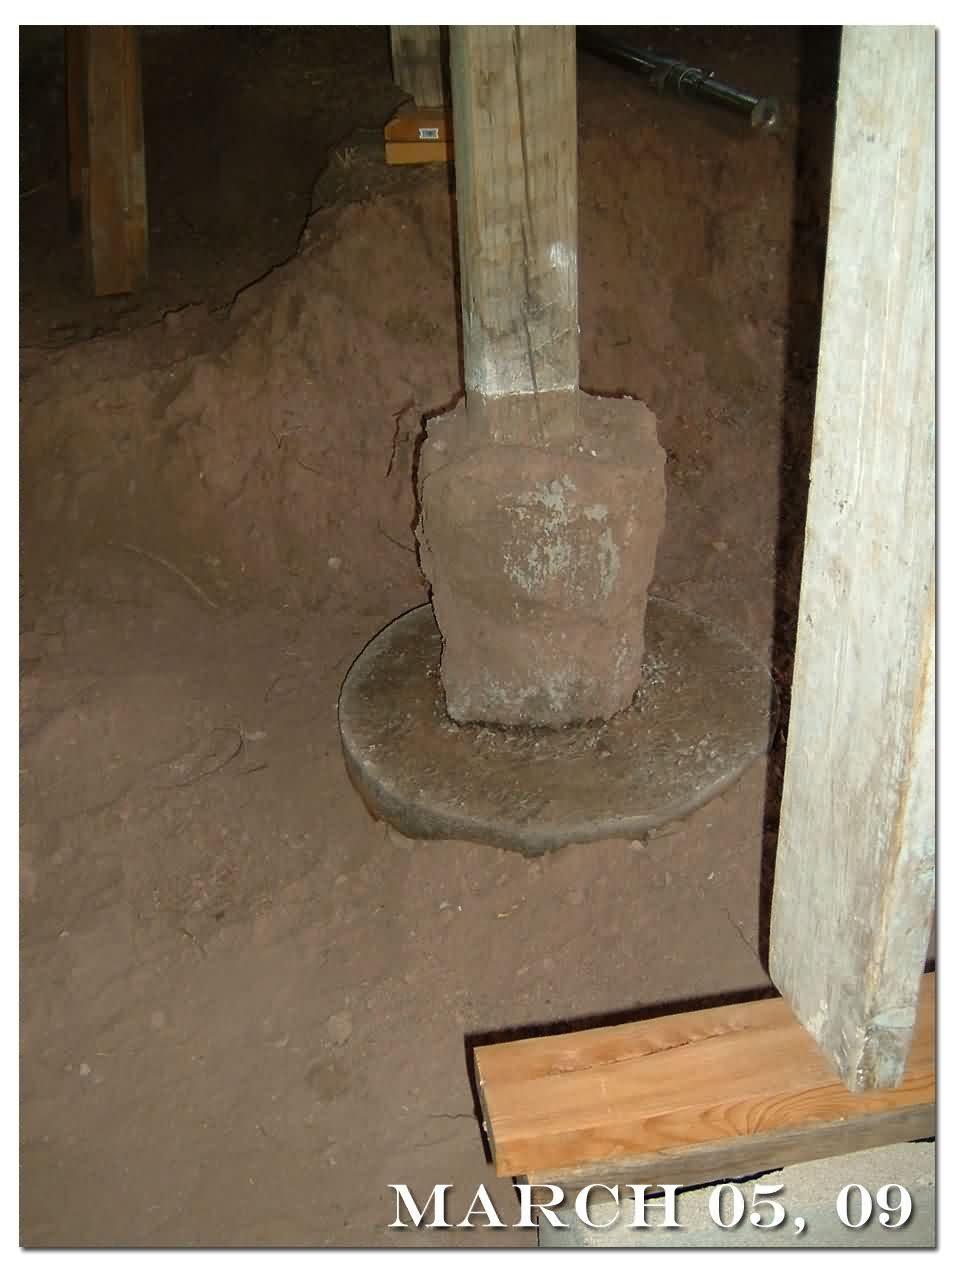
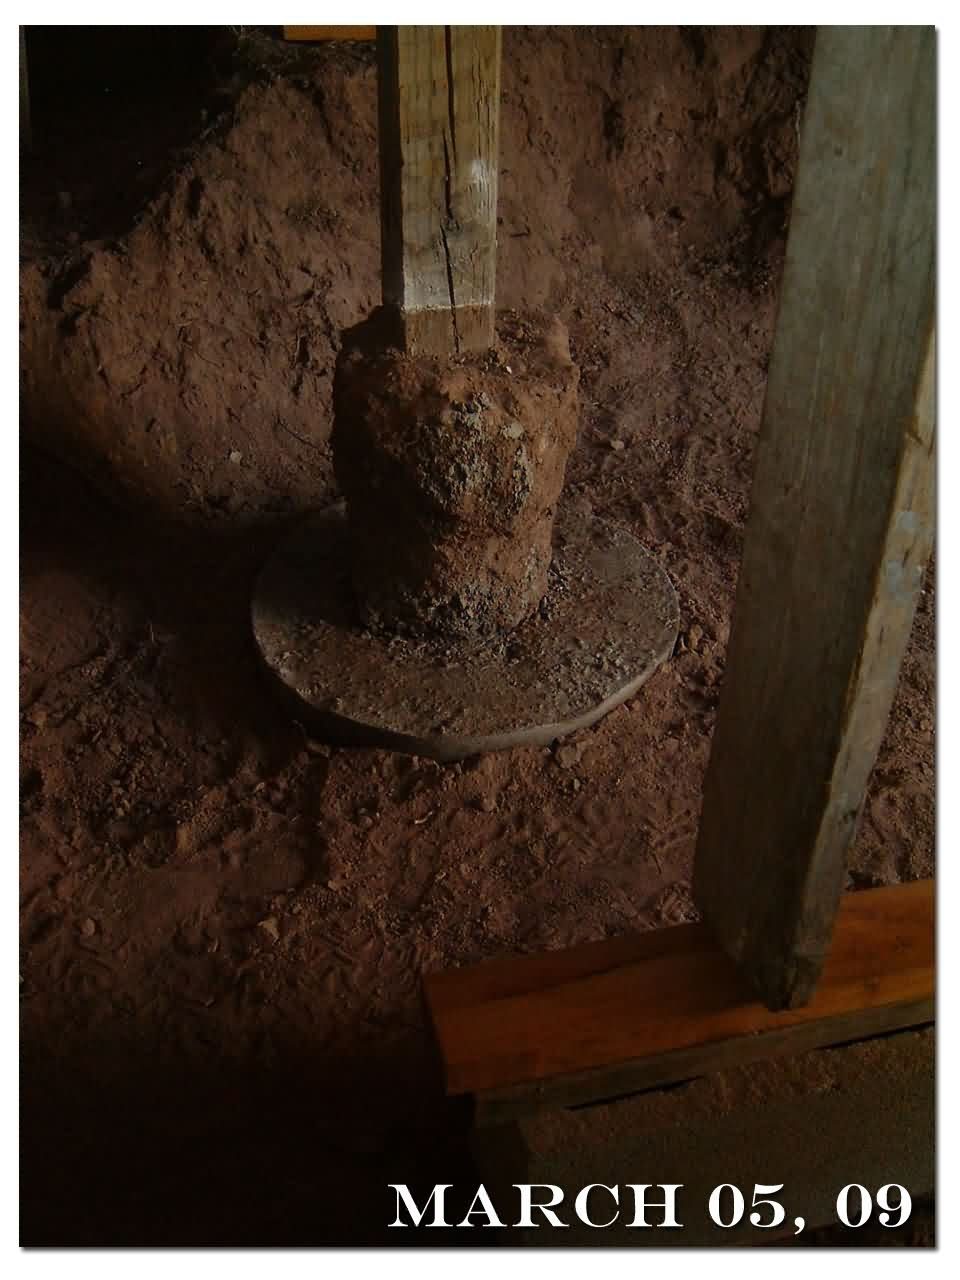
A closer view of under the cabin. The corner in the center of the wall is where the soilcrete wraps around a post. |
 |
|
Under the cabin
|
|
|
|
|
|
|
|
|
|
|
|
|




9 Responses
I have successfully added vermiculite and Styrofoam chips to soilcrete projects. Thought I would share this info as Styrofoam is usually readily available, free-of-charge and vermiculite can be purchased in bulk at reasonable prices. They both have great insulating properties, bind well with soil and cement, and can reduce weight up to 35%. Bearing walls would require more info than I can provide.
We experimented with such a mixture, (35% Styrofoam, 45% sandy soil and 20% Portland) to make some ornamental objects, including large planters, paving stones and benches. This was 20-30 years ago. They are still around today, (except the benches which the G’kids destroyed.) The Styrofoam must be chipped to about 1/2â€. Larger chunks can become exposed as time and weather take their toll on the surfaces. I would recommend vermiculite for planters as it absorbs and retains water. For all other purposes, Styrofoam is the deal. I’m sure that there are many other substances that could be recycled into soilcrete. A neighbour built a wall in his greenhouse using wine bottles within soilcrete blocks. His soilcrete also had a high content of broken glass. The roof fell in last year from snow-load but this wall stood as strong as the other ’stick-built’ sections.
We have also discovered that uncrushed river rock and sand are poor ingredients in any concrete. The polishing action of running water leaves few rough edges for the cement to bind with. It appears to work well at first but starts to disintegrate within a very few years.
j.r. guerra in s. tx, thanks for the info, doubt we would use block construction though, it’s far easier to pour in place, at least is it for us. We are lazy too. :)
.
..
.
Gwen, thanks yes that space under the cabin will be utilized this summer, it does get quite warm inside the cabin, last summer Bob spent lots of time under there, it was a bit too much for me then, but I’ll bet I’ll be spending some time down there this summer now that it’s dug out and more closed in. I also have an idea for a space under there for a root cellar, great minds think alike!
.
..
.
Mark, yup, it is a lot of work, I get tired just watching Bob lug those buckets back and forth (grin). Bob usually does one or two loads (cement mixer bowl) at a time so it isn’t so much work each time, then he lets it set up and starts up the following day.
.
..
.
Dave, that’s good info to have, I suspected this type of construction should be able to stand the test of time. It’s very dry here so the wood shouldn’t rot, that’s the weakest part of the system.
.
..
.
tsmith, thanks, hmmmm people ask me for advice all the time, (I don’t mind though), I usually give the same general answer, if you really want to do it, then start buying the components needed, one or two pieces at a time, buy solar panels, buy the charge controller, start doing this now, at least once a month, preferably something out of each paycheck, and once you are ready to take the plunge, even if it’s years from now, you will have a major head start on your off-grid life. Also, I suggest that you start NOW buying extra foods, canned, dried, anything that doesn’t require refrigeration and will last a long time, even if it’s only a few extra cans of something or a few extra bags of rice or beans, do it, you will never be sorry about having extra food.
.
..
.
Rio Arriba, thanks, Bob’s fingers are healing up nicely, the fingernails on each one that went through the mixer are coming loose, he’s trimming them off, but other than that, they are looking good.
.
..
.
#7, thanks for the link :)
.
..
.
Antti Karttunen, thanks for the link! :)
There is currently a discussion about the same topic
going on at:
https://openfarmtech.org/weblog/?p=560
Looks like it’s coming along real well. Always something to do! Hope his fingers heal up soon. Musta hurt like hell.
Great work! thanks for posting. Any suggestions for others to research off-grid living?
Here in Ireland, there are a number of outhouses build using this same method by my father and grandfather over 60 years ago. Built the same way – gravel from the river, stony/soil from the farm, cement and timber shuttering. All mixed by shovel and handballed into the shuttering. The buildings are still standing and more importantly still in use.
Nice work and best of luck.
Dave
Thanks for the update and pictures Wretha. Looks like things are getting done. That concrete looks like alot of work, but it will be well worth it in the end I suppose. C’ya later.
Mark
Great photos, Wretha. It looks like that space under the cabin will be perfect for keeping cool this summer and maybe doing some root cellar-type storage. Nice!
Very cool – you are pouring courses of this stuff. Used to be (and maybe still exists) a block press which pressed blocks of soil cement units. Called the CINVA RAM, it made blocks approximately 12″ long x 6″ wide sx 3″ deep. Designed back in 70’s, you find some used presses here and there. Even came with forms to make roof / floor tile, and even lintel ‘U block’ for reinforcement over wall openings.
You go girl! Man, talk about inspriration for us lazy folk. Definitely one of those ‘thems thats doing’.